Oracle Linux 8.10を以下の環境にインストールしました。
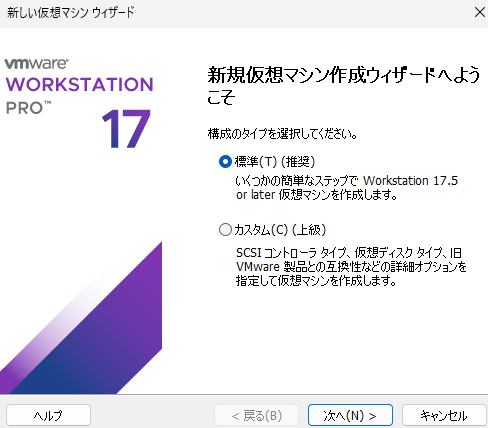
- Windows 10 Home
- VMware workstation
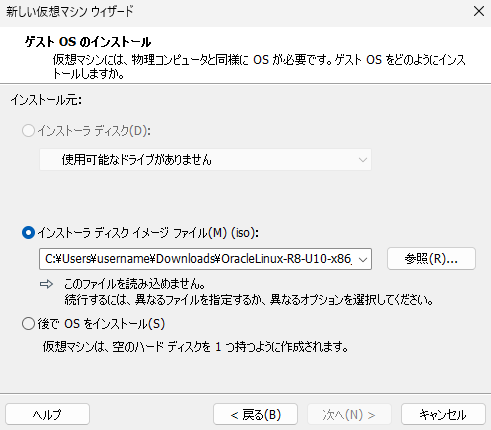
.isoファイルを入手する
以下Oracle公式サイトからOracle Linuxの.isoファイルを入手します。

Oracle Linux ISOs | Oracle, Software. Hardware. Complete.
Download Oracle Linux ISOs
yum.oracle.com
以下の.isoファイルをダウンロードします。
- OracleLinux-R8-U10-x86_64-dvd.iso
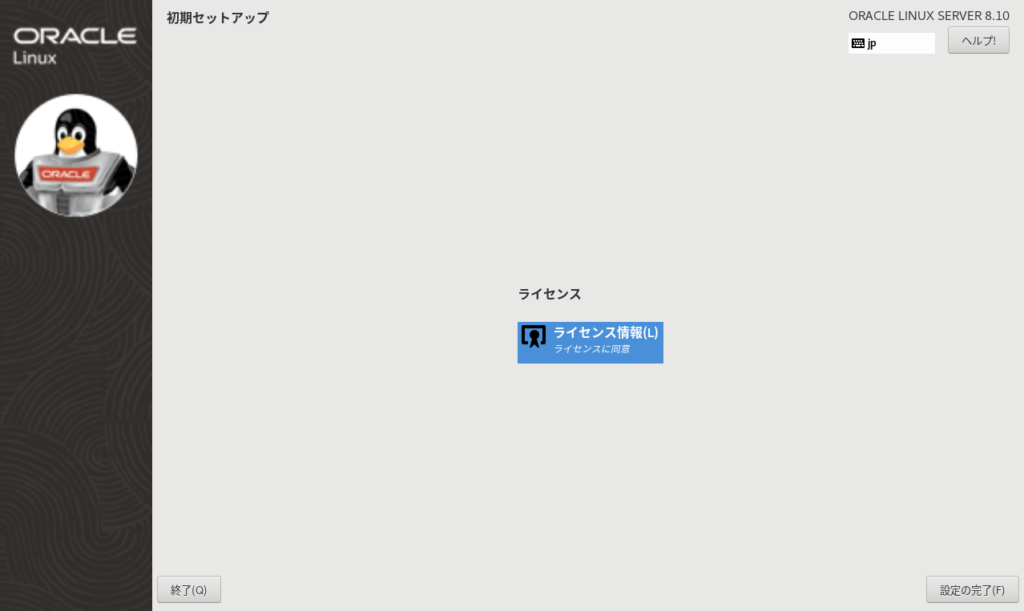
Oracle Linux 8.10をインストール
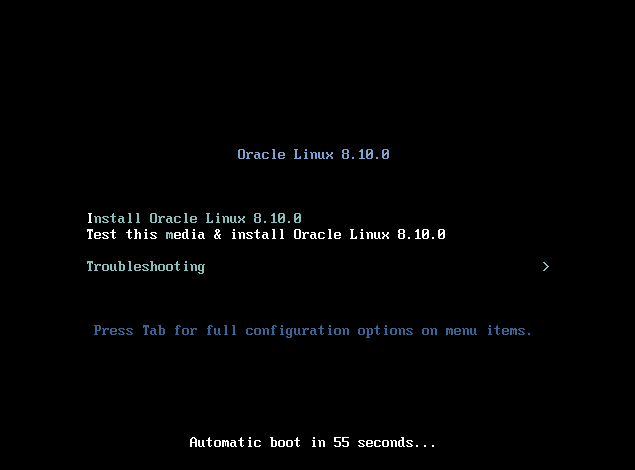
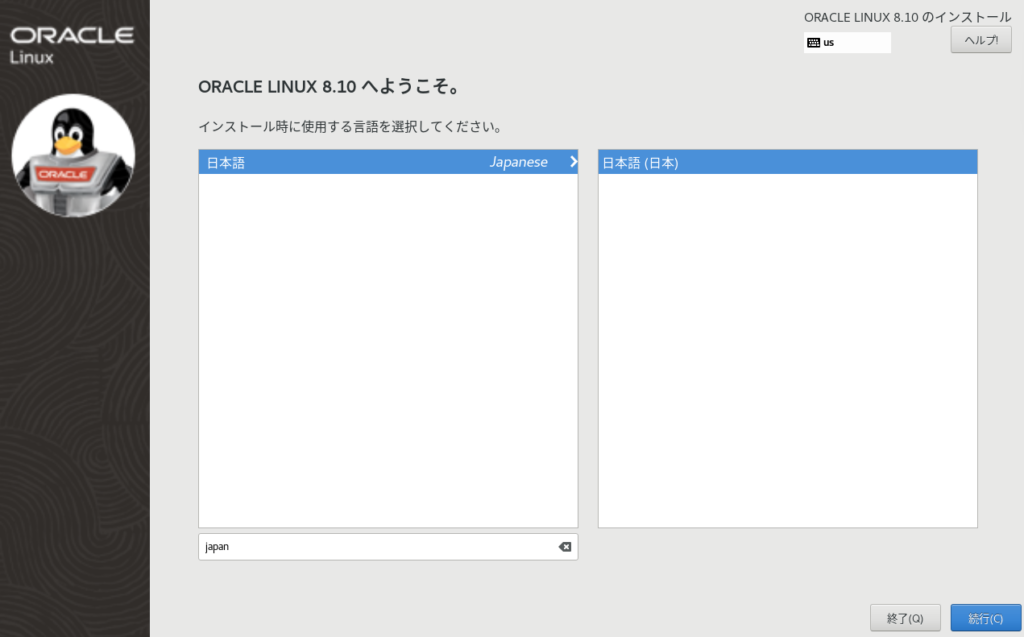
上段を選択してEnterキーを押します。
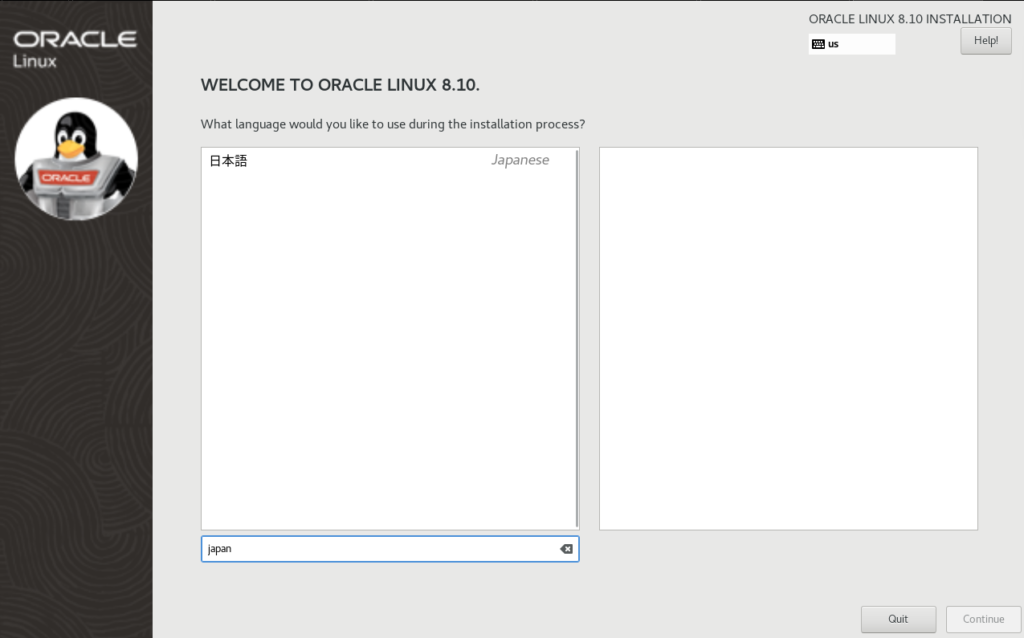
日本語に設定します。
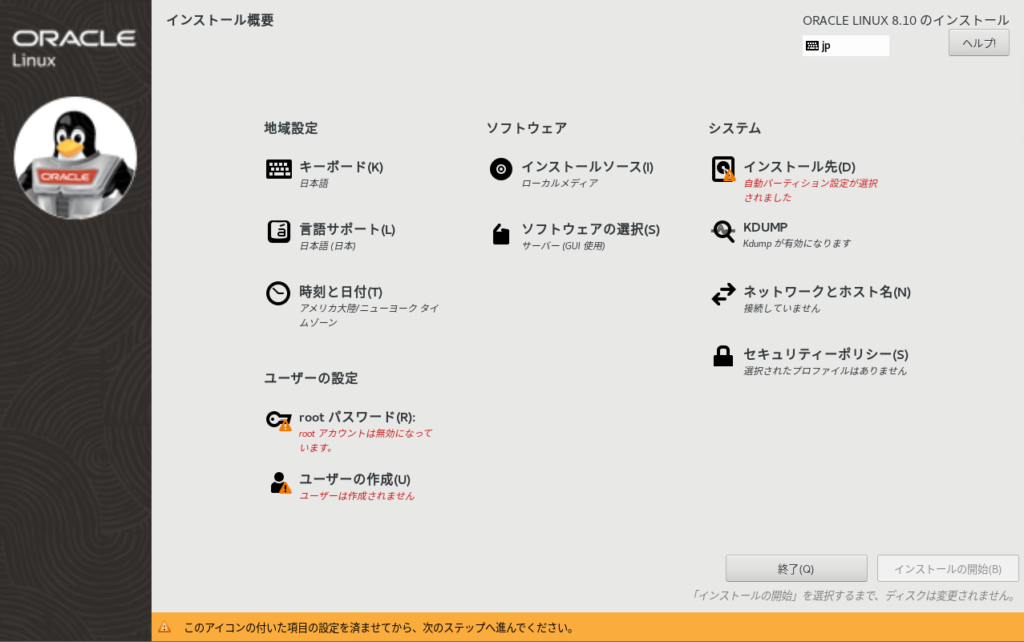
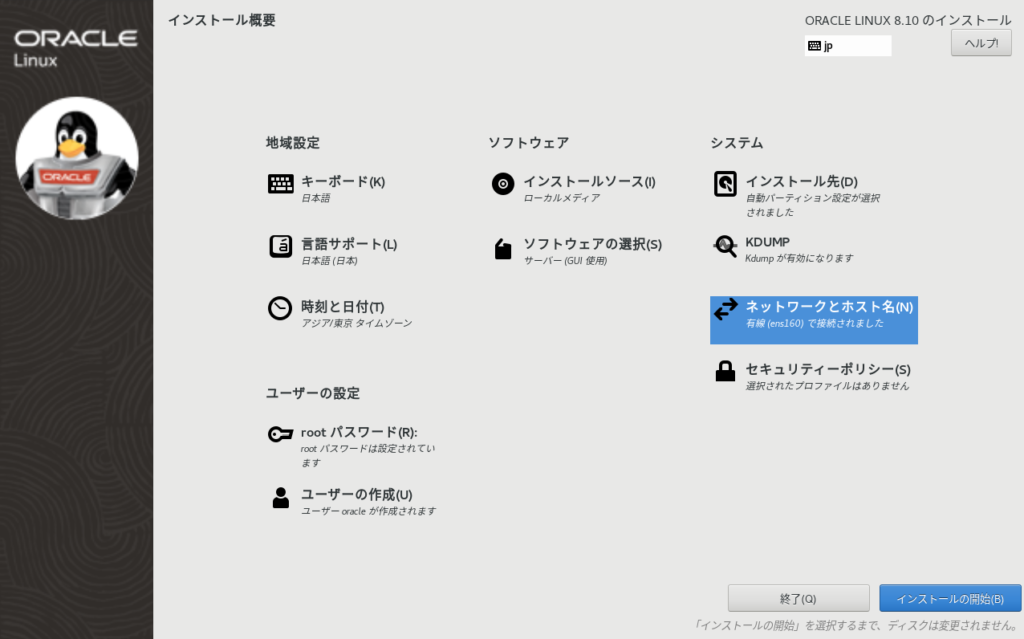
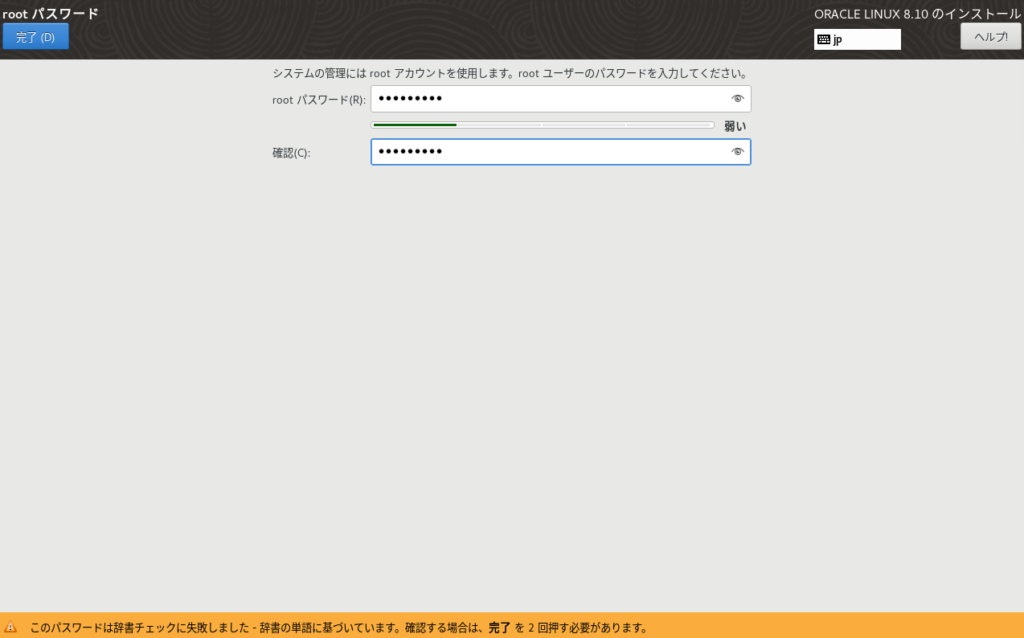
rootユーザーのパスワードを設定してrootアカウントを有効にします。
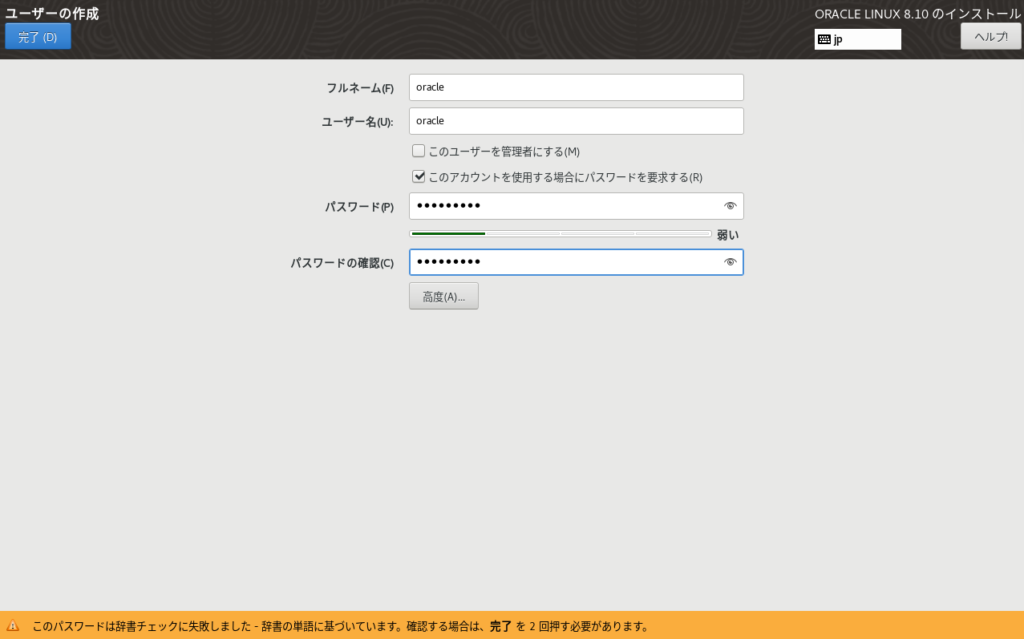
oracleユーザーも作成しておきます。
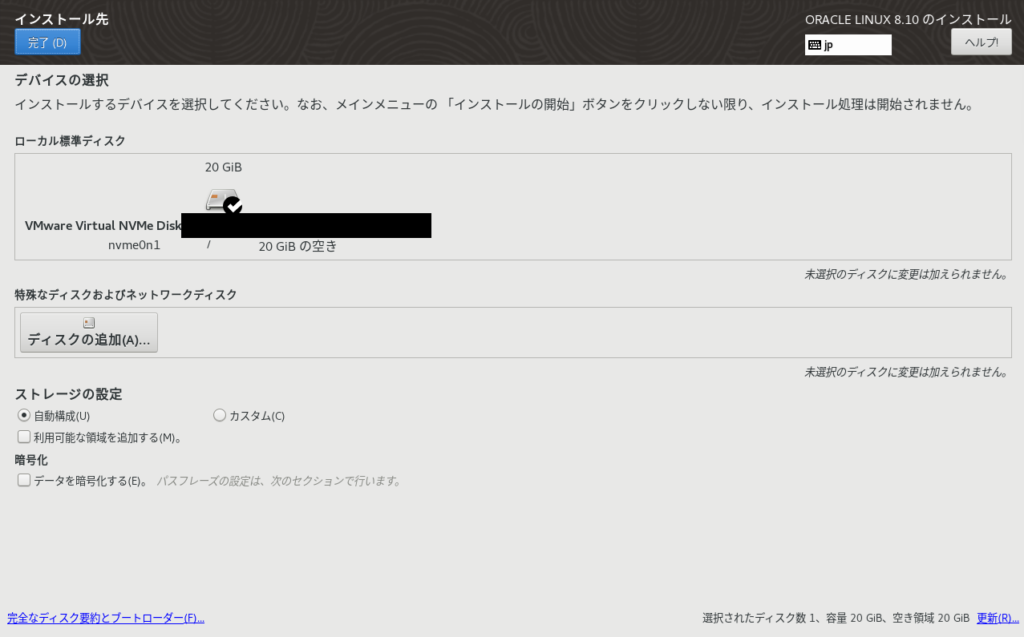
インストール先のディスクを選択します。以下の画面に遷移した段階で自動でディスクが選択されるので、問題なければ左上の完了(D)ボタンを押下しましょう。
日付と時刻をアジア/東京に設定します。


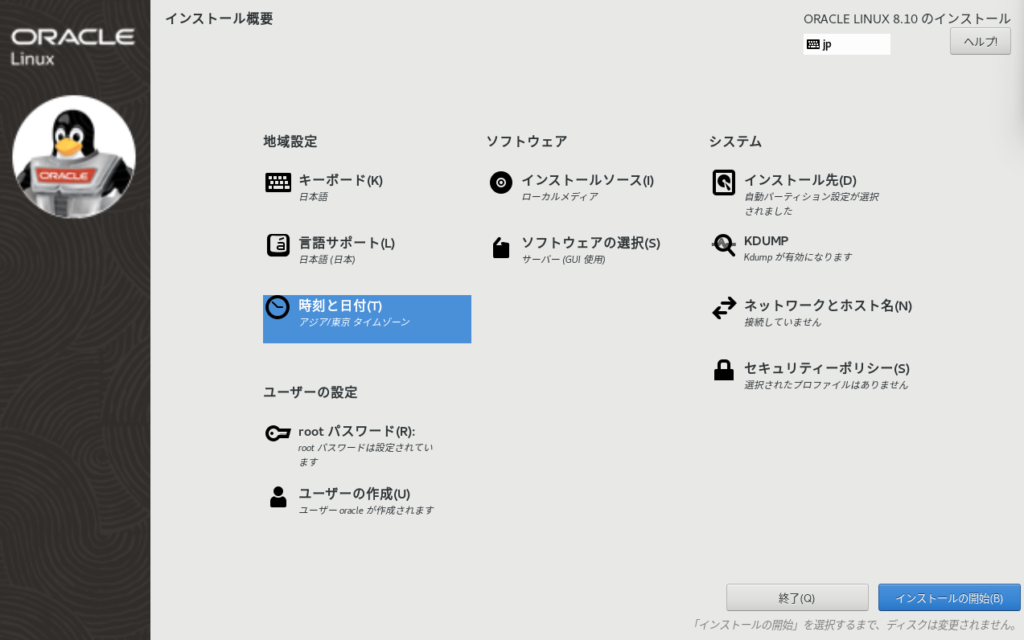
インストールの開始(B)ボタンが押下できる状態になりました。
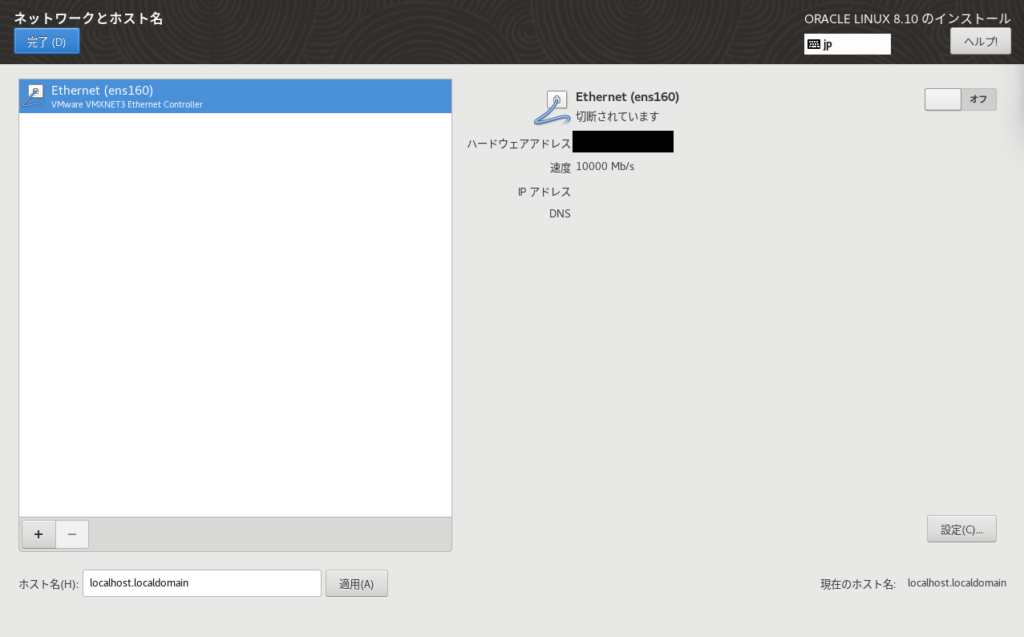
ネットワークとホスト名から、ネットワークに接続します。右上のオフボタンをクリックしてオンにし、Oracle Linux 8.10をネットワークに接続します。

この状態でインストールの開始(B)ボタンを押下します。