Windows Server 2025でのSplunk Enterprise 10.2.0の使い方をまとめました。
Windows Server 2025にSplunkを導入する方法を紹介します。
Windows Server 2025にSplunkをインストールする
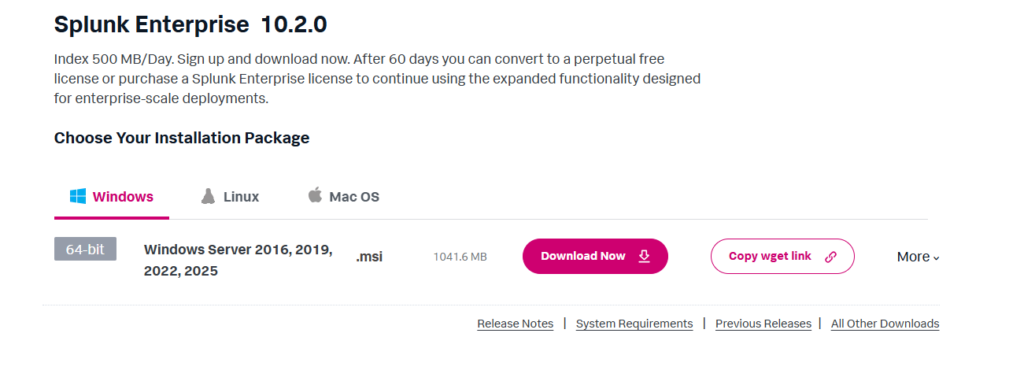
まずは以下のSplunk公式サイトからWindows Server 2025に対応している.msiファイルをダウンロードします。

Free Splunk Trial | Download Splunk Enterprise Free for 60 Days | Splunk
Try Splunk Enterprise free for 60 days as a hybrid or on-prem download. Stream, collect and index any type of data safel...
www.splunk.com
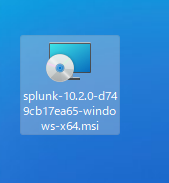
ダウンロードした.msiファイルをWindows Server 2025上で実行します。
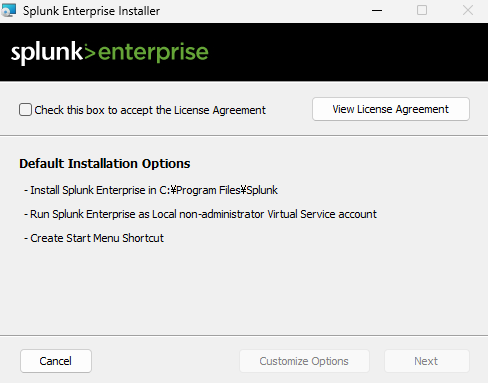
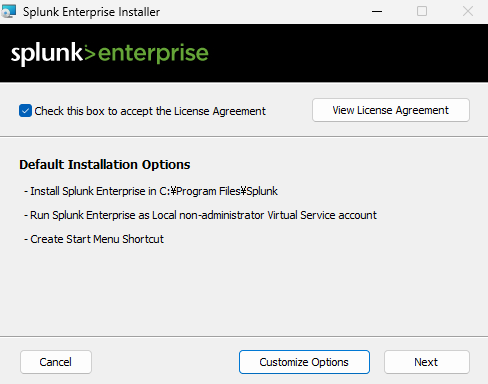
Check this box to accept the License Agreementにチェックします。
Nextボタンをクリックします。
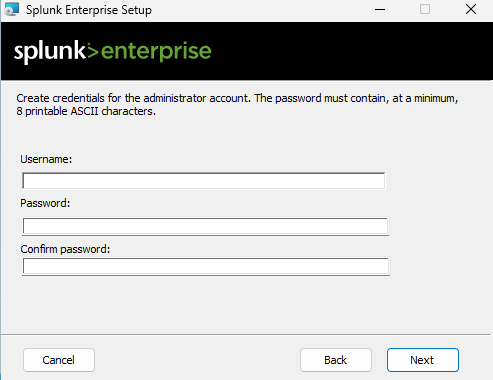
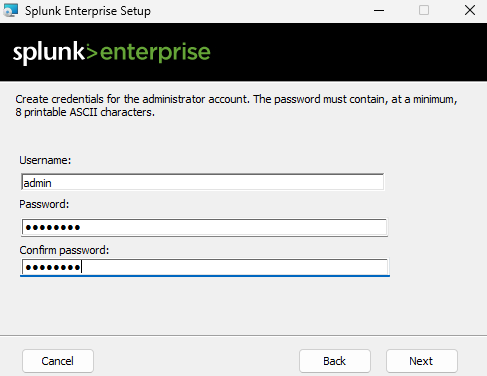
ユーザーを作成します。
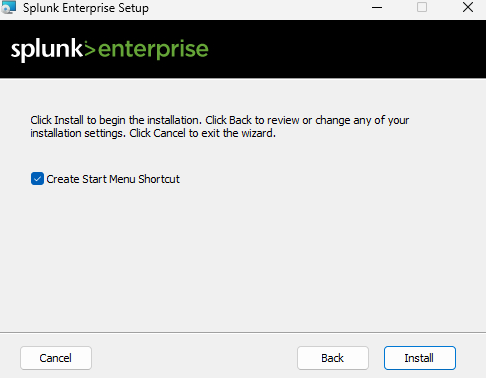
Installボタンを押下します。
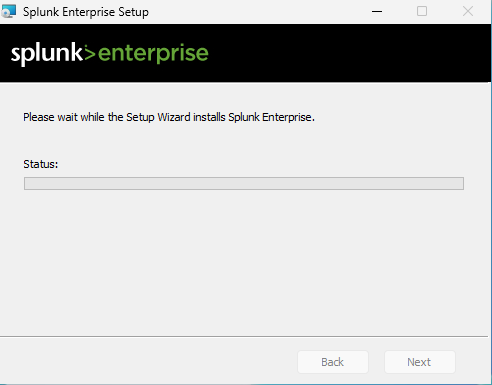
インストールが終わるのを待ちます。
インストールが完了したらSplunkを起動します。
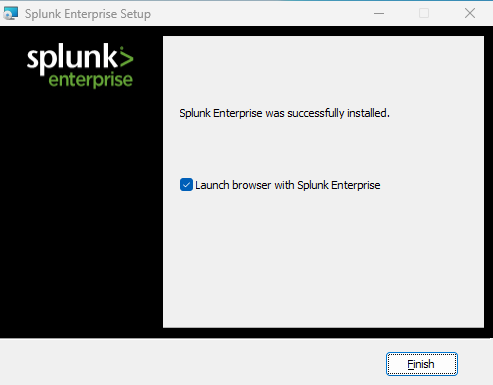
インストールしたSplunkの起動
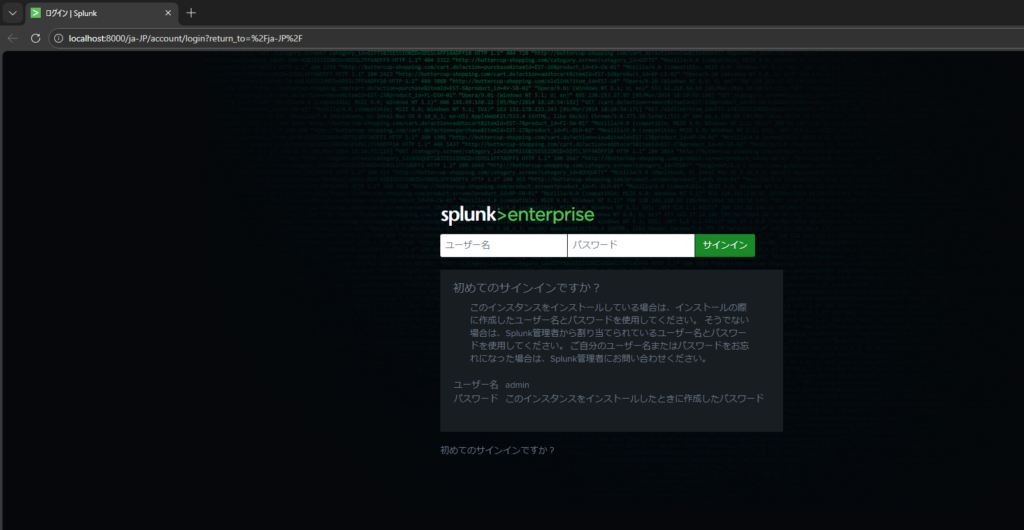
インストールしたSplunkを起動します。インストール時に作成したユーザーでサインインします。
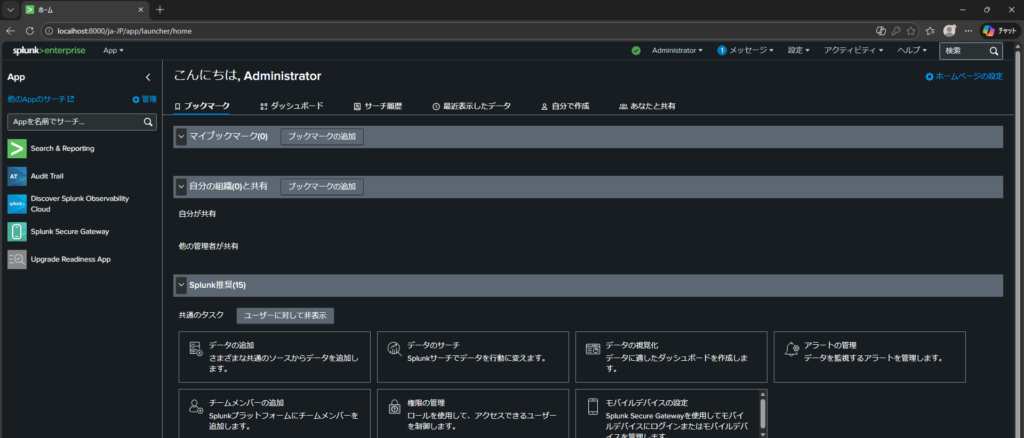
サインインすると以下の画面に遷移します。
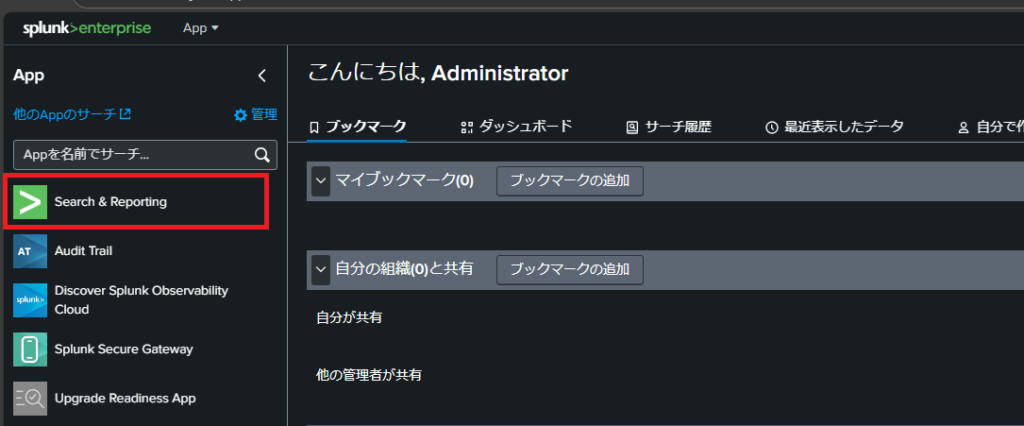
SplunkからWindows Server 2025のローカル環境のログを確認する
インストールしたSplunkにサインインしてSearch & Reportingをクリックします。
以下の画面で、次のSPLを入力します。SPLとは、Search Processing Languageの頭文字で、SPLはSplunkの独自言語で、主にログを検索するために使用されます。
index=_internal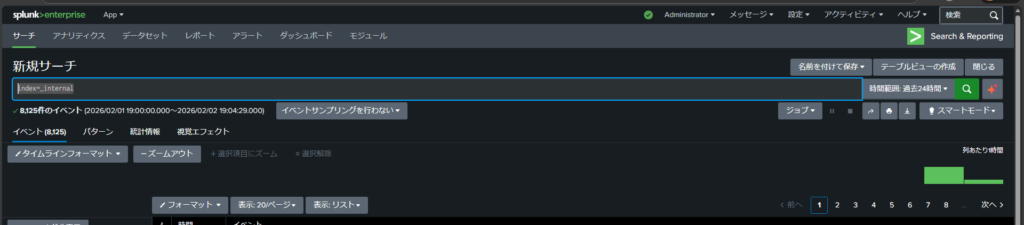
SPLは、データベースで使用する言語、SQLに近い体系になっていて、SQLとSPLに対応したドキュメントをSplunkが提供しています。

Splunk Docs
help.splunk.com