XAMPP(ザンプ)の概要と使い方をまとめました。
XAMPPの概要
XAMPPは、WindowsやLinuxやMacなどのOS上で、アプリケーションの開発ができる環境を提供するソフトウェアです。
XAMPPは何の略か
本記事ではWindows、Linux、Mac向けのアプリケーション、XAMPPについてまとめていますが、そもそもXAMPPという単語は以下の頭文字のことを指しています。
- X(クロスプラットフォーム)
- A(Apache)
- M(MySQL)
- P(PHP)
- P(Perl)
X(クロスプラットフォーム)、つまり、複数のプラットフォーム(OS)で使用が可能です。
XAMPPの用途
XAMPPを何に使うのか、ということについて説明します。
XAMPPは主に以下の用途で使用されます。
- WordPressサイトをローカル環境に構築する
- PHPでのサイト制作環境の構築
- HTML/CSSで作成したサイトの公開環境
- 他
WindowsにXAMPPをインストールする
XAMPPをパソコンにインストールします。
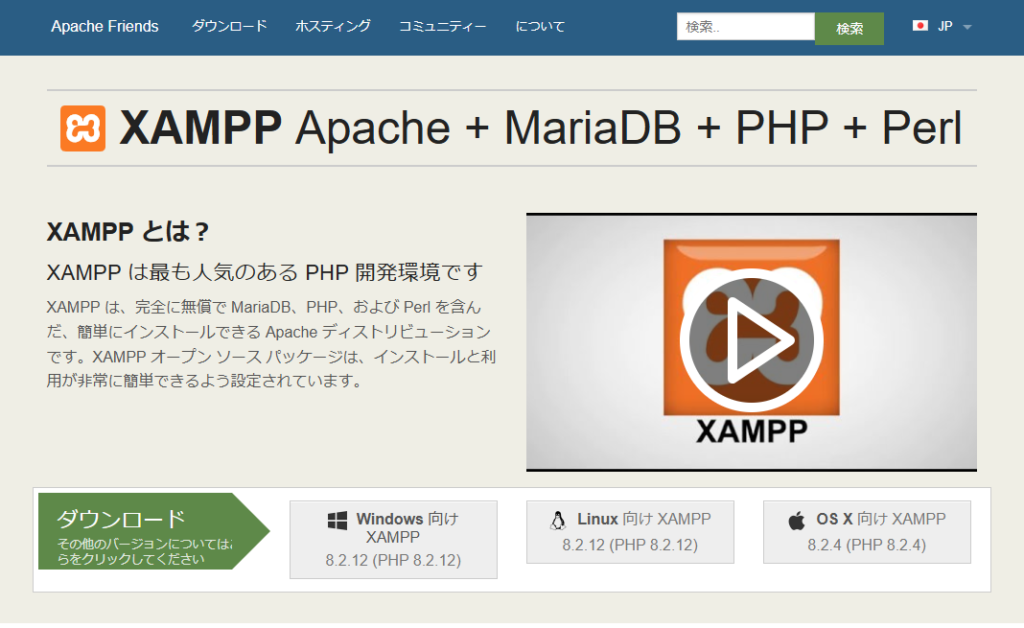
まずは以下のリンクからXAMPPのインストーラを入手します。

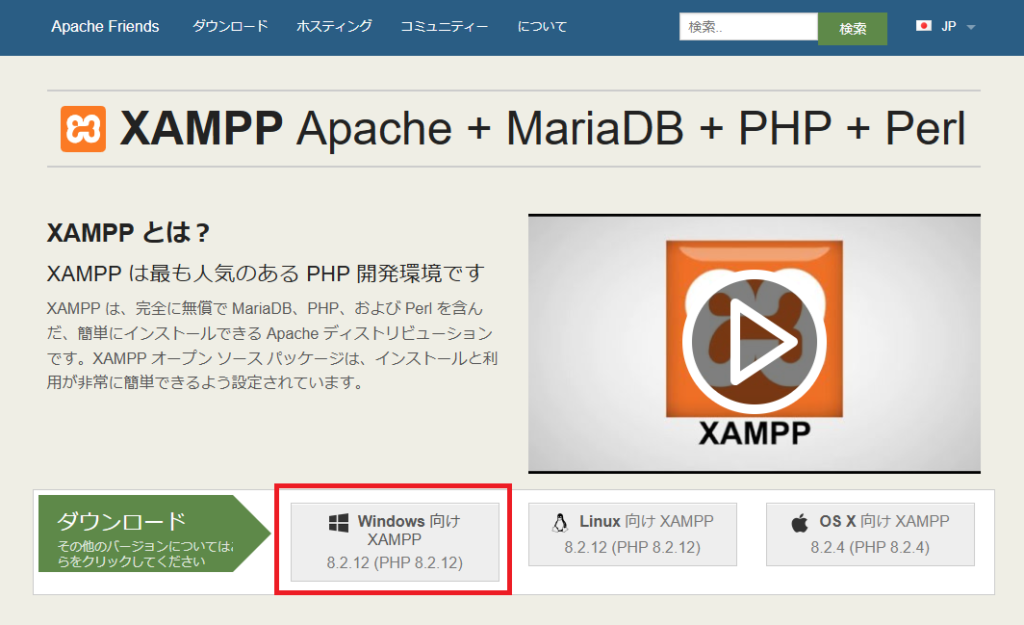
今回はWindowsにインストールするので赤枠で囲ったボタンをクリックします。
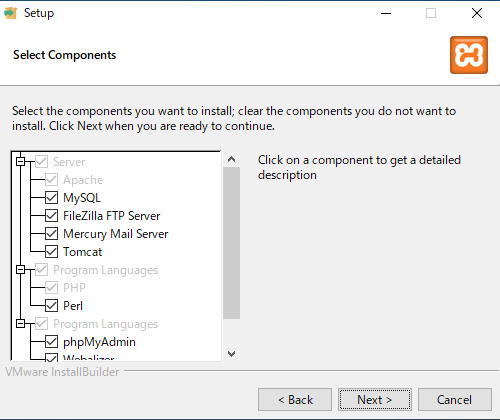
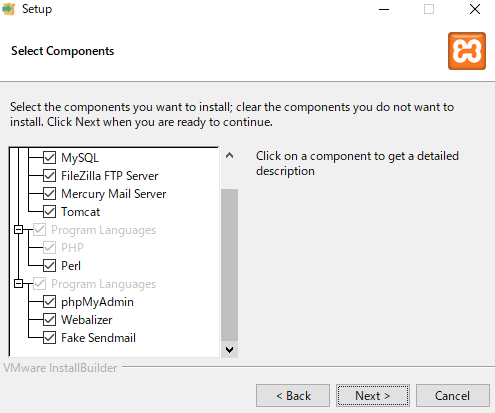
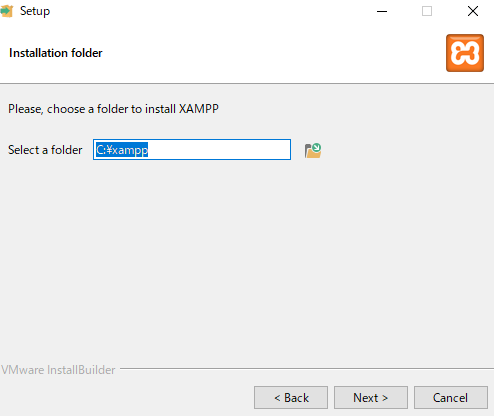
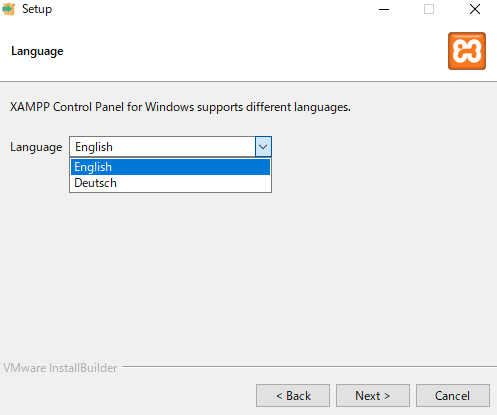
XAMPPをインストールする
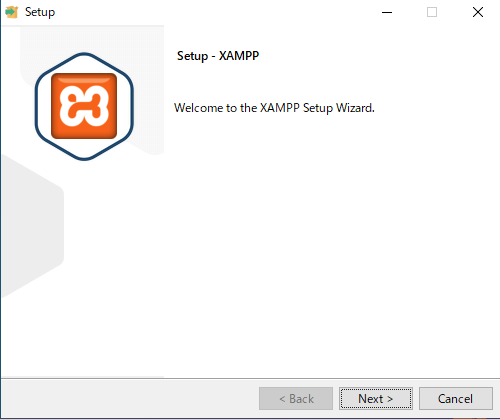
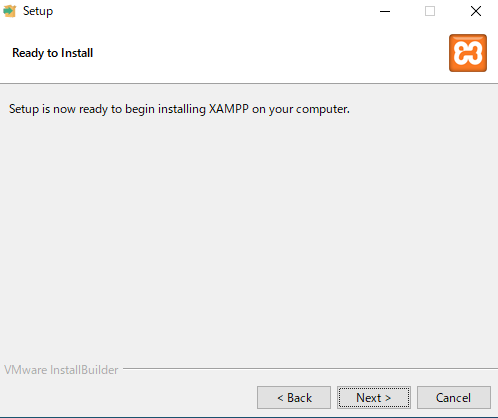
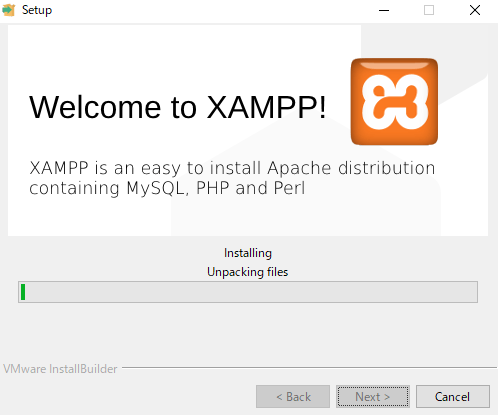
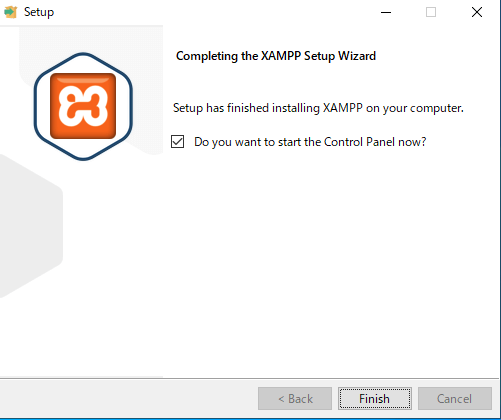
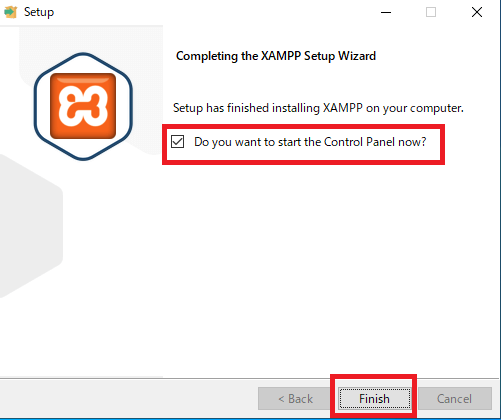
XAMPPをインストールします。
XAMPPを起動する
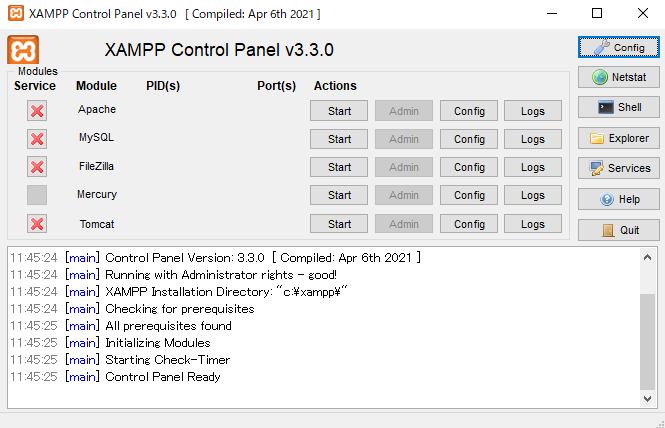
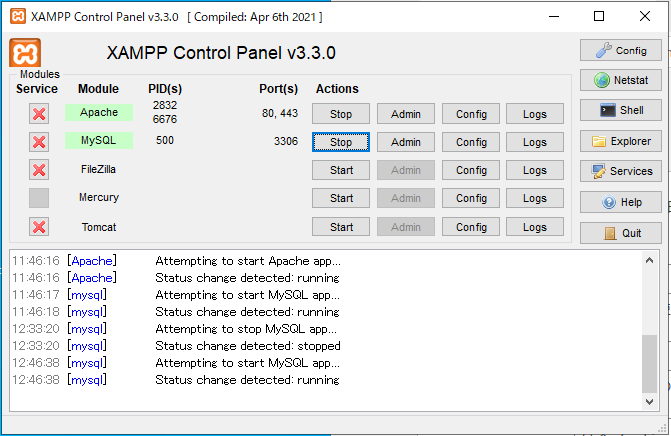
XAMPPをインストールしたら、XAMPPを起動します。
以下をスタートさせます(Apacheだけ起動させれば問題ありません、MySQLはデータベースでWordPressに使用します)。
- Apache
- MySQL
スタートボタンを押下しました。
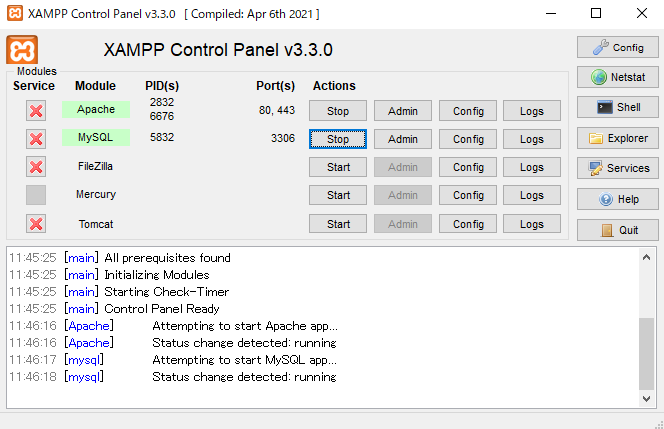
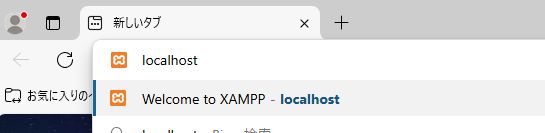
ブラウザから「http://localhost」にアクセスします。
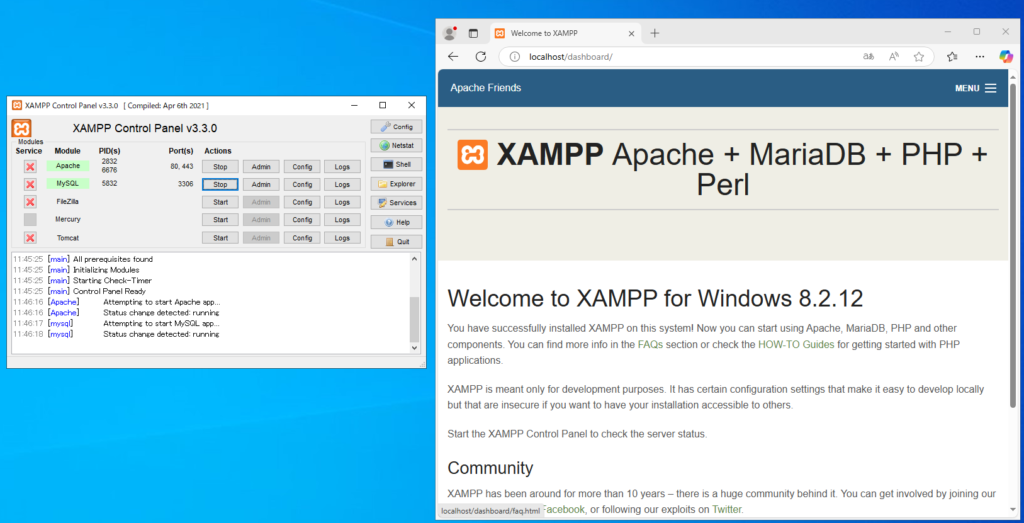
問題なくApacheが動作していることがわかります。
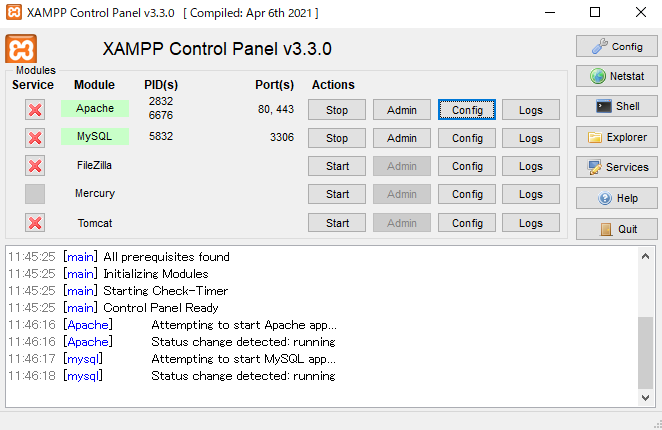
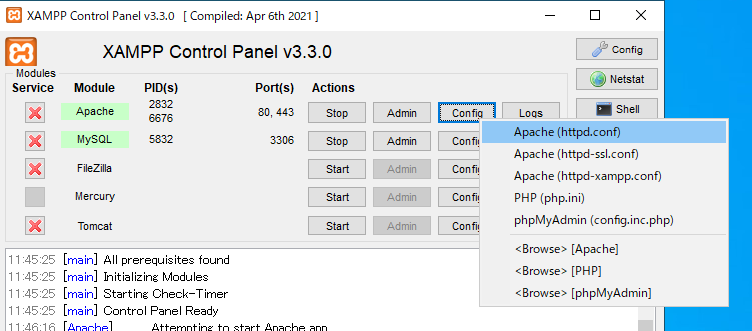
XAMPPの設定を確認する
ApacheのConfigを確認します。
httpd.confを開きます。
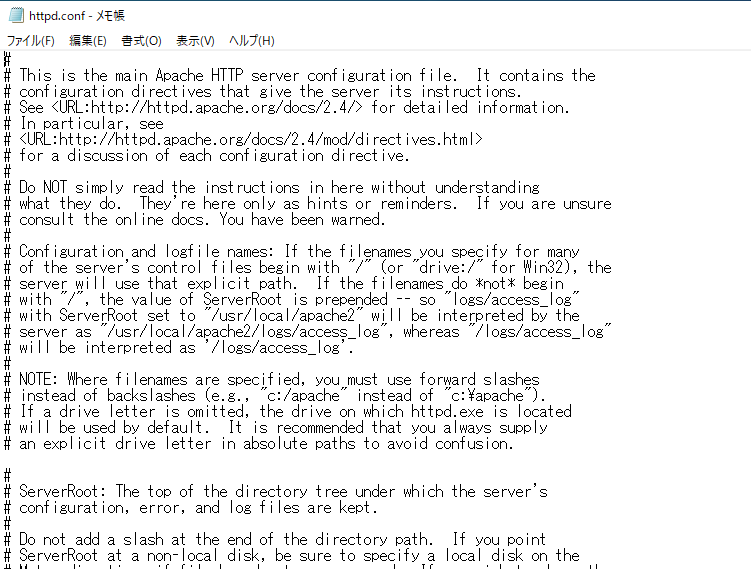
#がついている行は「コメントアウト」されている行なので、Apacheの動作に影響しないものです。
一部の設定を抜粋します。
ServerRoot "C:/xampp/apache"#
# Listen: Allows you to bind Apache to specific IP addresses and/or
# ports, instead of the default. See also the <VirtualHost>
# directive.
#
# Change this to Listen on specific IP addresses as shown below to
# prevent Apache from glomming onto all bound IP addresses.
#
#Listen 12.34.56.78:80
Listen 80#
# If you wish httpd to run as a different user or group, you must run
# httpd as root initially and it will switch.
#
# User/Group: The name (or #number) of the user/group to run httpd as.
# It is usually good practice to create a dedicated user and group for
# running httpd, as with most system services.
#
User daemon
Group daemon#
# ServerAdmin: Your address, where problems with the server should be
# e-mailed. This address appears on some server-generated pages, such
# as error documents. e.g. admin@your-domain.com
#
ServerAdmin postmaster@localhost
#
# ServerName gives the name and port that the server uses to identify itself.
# This can often be determined automatically, but we recommend you specify
# it explicitly to prevent problems during startup.
#
# If your host doesn't have a registered DNS name, enter its IP address here.
#
ServerName localhost:80#
# DocumentRoot: The directory out of which you will serve your
# documents. By default, all requests are taken from this directory, but
# symbolic links and aliases may be used to point to other locations.
#
DocumentRoot "C:/xampp/htdocs"
<Directory "C:/xampp/htdocs">
#
# Possible values for the Options directive are "None", "All",
# or any combination of:
# Indexes Includes FollowSymLinks SymLinksifOwnerMatch ExecCGI MultiViews
#
# Note that "MultiViews" must be named *explicitly* --- "Options All"
# doesn't give it to you.
#
# The Options directive is both complicated and important. Please see
# http://httpd.apache.org/docs/2.4/mod/core.html#options
# for more information.
#
Options Indexes FollowSymLinks Includes ExecCGI
#
# AllowOverride controls what directives may be placed in .htaccess files.
# It can be "All", "None", or any combination of the keywords:
# AllowOverride FileInfo AuthConfig Limit
#
AllowOverride All
#
# Controls who can get stuff from this server.
#
Require all granted
</Directory>Document Rootについて
httpd.confの以下のパラメータは、ブラウザで[http://localhost」でアクセスした際に参照するフォルダ(ディレクトリ)を設定します。
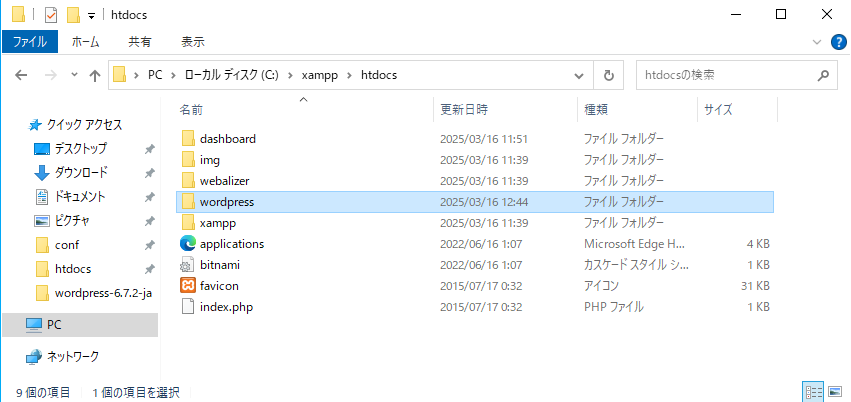
DocumentRoot "C:/xampp/htdocs"XAMPPインストールしたデフォルトではC:/xampp/htdocsには以下のファイル・フォルダが格納されています。
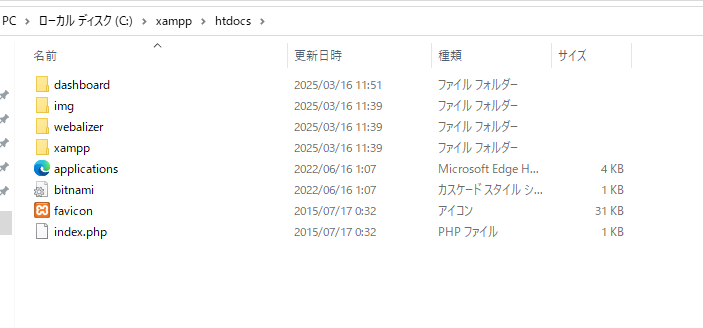
Apacheを起動した状態でブラウザで「localhost」にアクセスすると「C:/xampp/htdocs/index.php」が参照されます。
これはhttpd.confに以下の記述があるためです。
DocumentRoot "C:/xampp/htdocs"index.phpの中身は以下です。
<?php
	if (!empty($_SERVER['HTTPS']) && ('on' == $_SERVER['HTTPS'])) {
		$uri = 'https://';
	} else {
		$uri = 'http://';
	}
	$uri .= $_SERVER['HTTP_HOST'];
	header('Location: '.$uri.'/dashboard/');
	exit;
?>
Something is wrong with the XAMPP installation :-(
また、index.phpに以下の記述があるため、ブラウザから「localhost」にアクセスすると「localhost/dashboard」にアクセスされます。
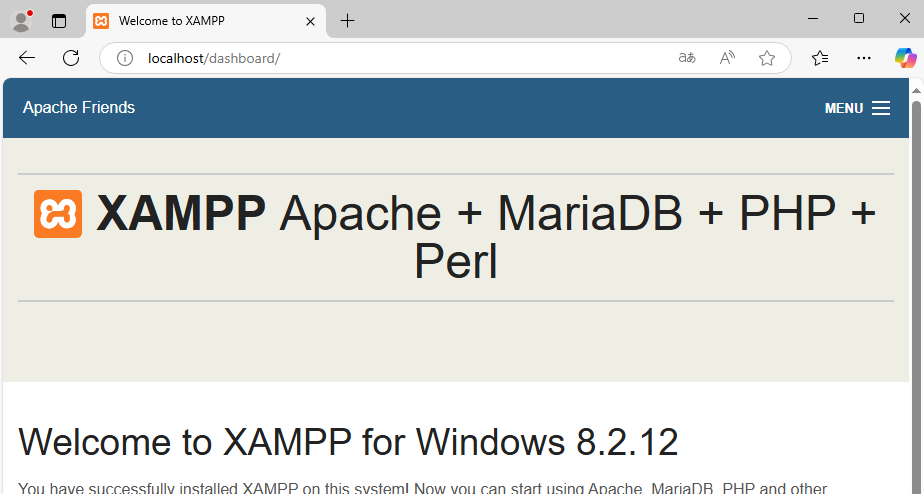
header('Location: '.$uri.'/dashboard/');実際動作を確認してみます。
まずはlocalhostとブラウザに入力します。
すると「localhost/dashboard」にアクセスされます。
WordPressをインストールする
Apacheはデフォルトで以下をDocumentRootとして設定しています。
DocumentRoot "C:/xampp/htdocs"そこで、以下へWordPressを格納します。
C:/xampp/htdocs/まずは以下のWordPress公式サイトへアクセスしてWordPressのZipファイルを入手します。

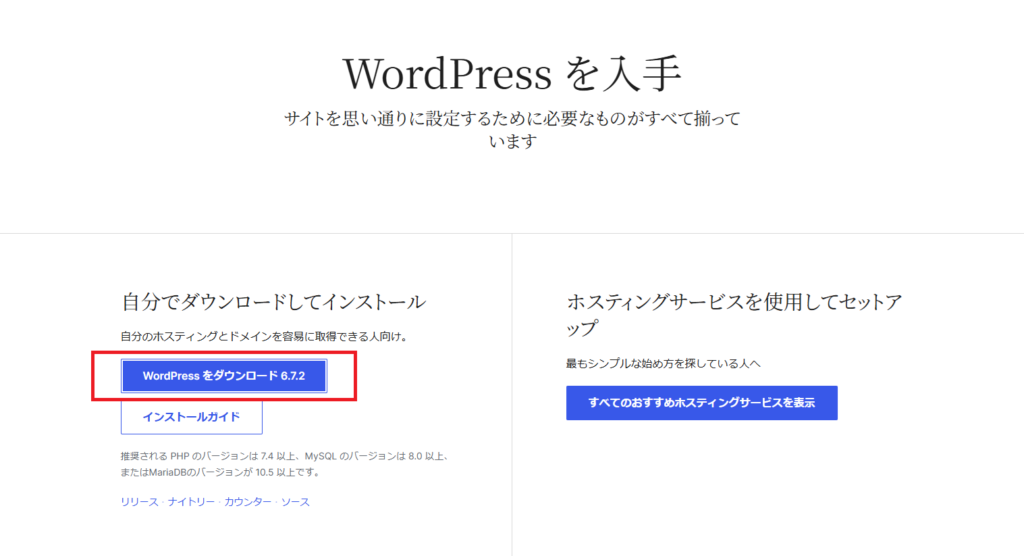
WordPressをダウンロードと書かれた青いボタンを押下します。
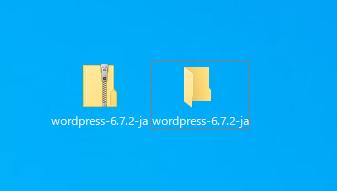
ダウンロードしたらZipファイルを解凍します。
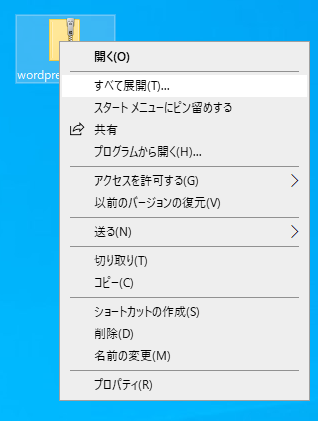
Zipファイルを右クリックして「すべて展開(T)…」を押下します。以下の画像ではデスクトップにZipファイルを配置していますが、ダウンロードフォルダからでも同じことができます。
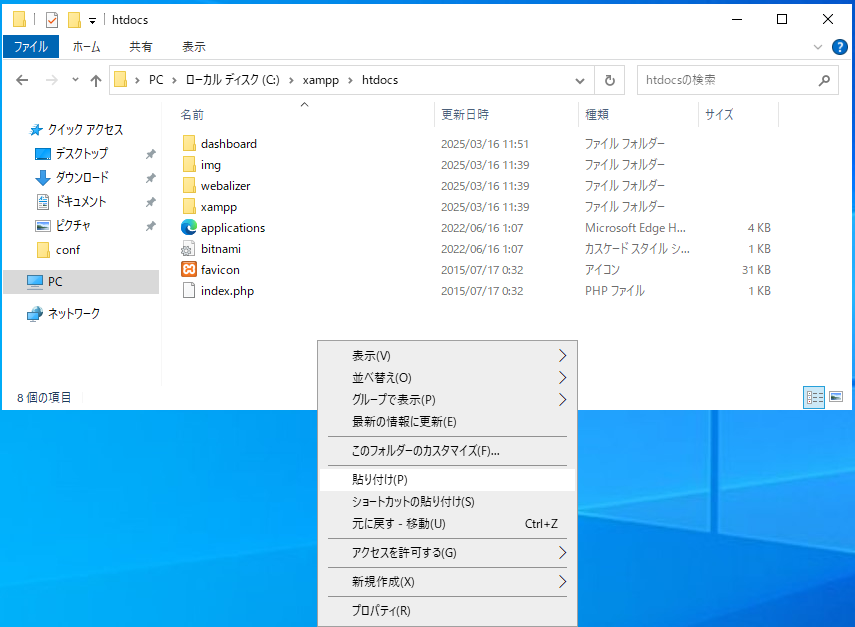
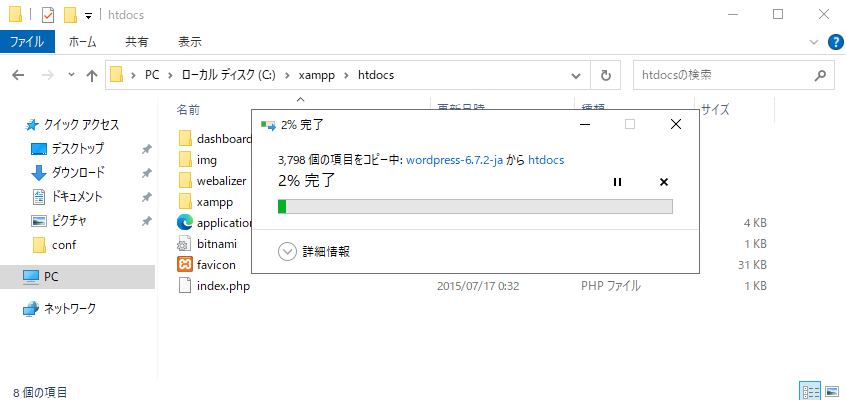
Zipファイルを解凍したら、解凍したwordpress-<バージョン>-<言語>フォルダの中にある「wordpress」フォルダをApacheのDocumentRootへ格納します。
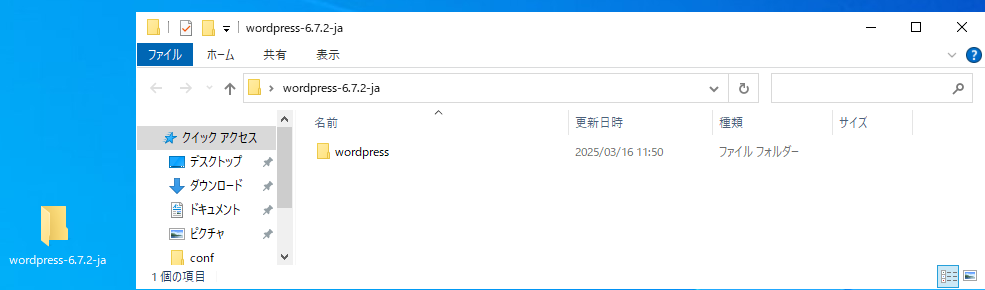
今回は以下へ格納します。
C:/xampp/htdocs/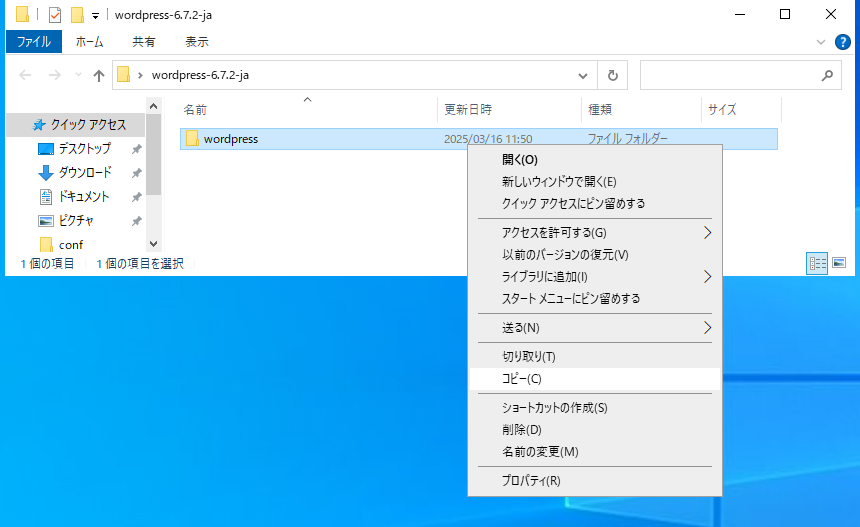
ブラウザから以下へアクセスします。
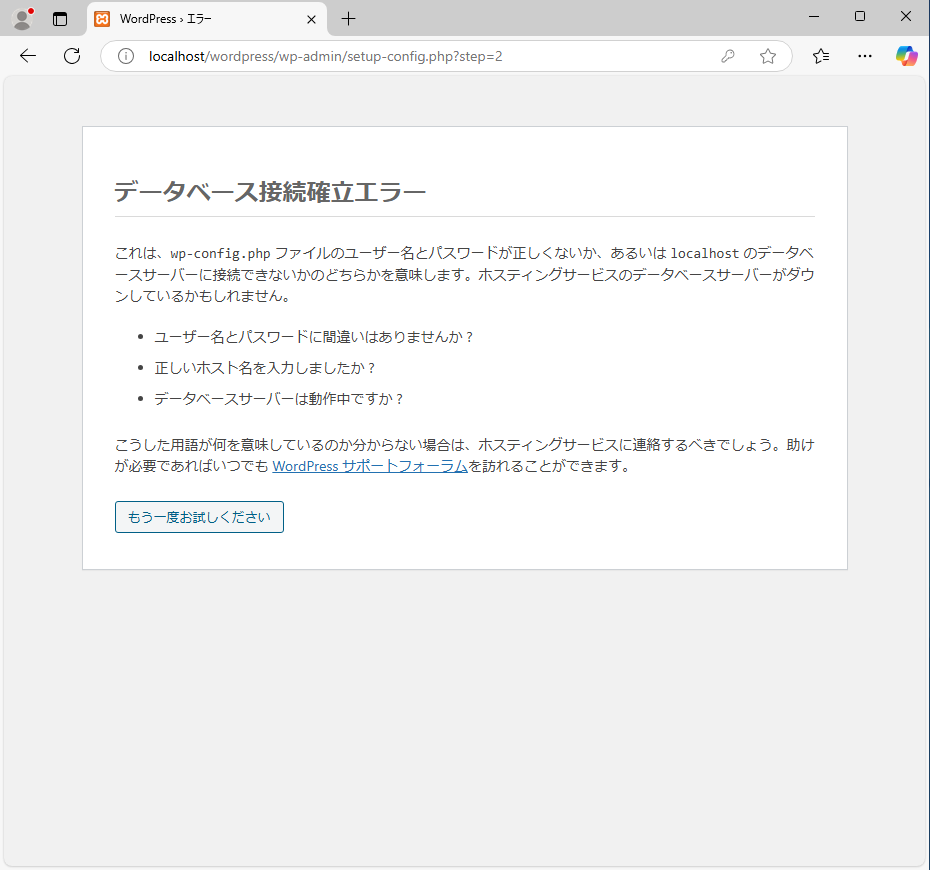
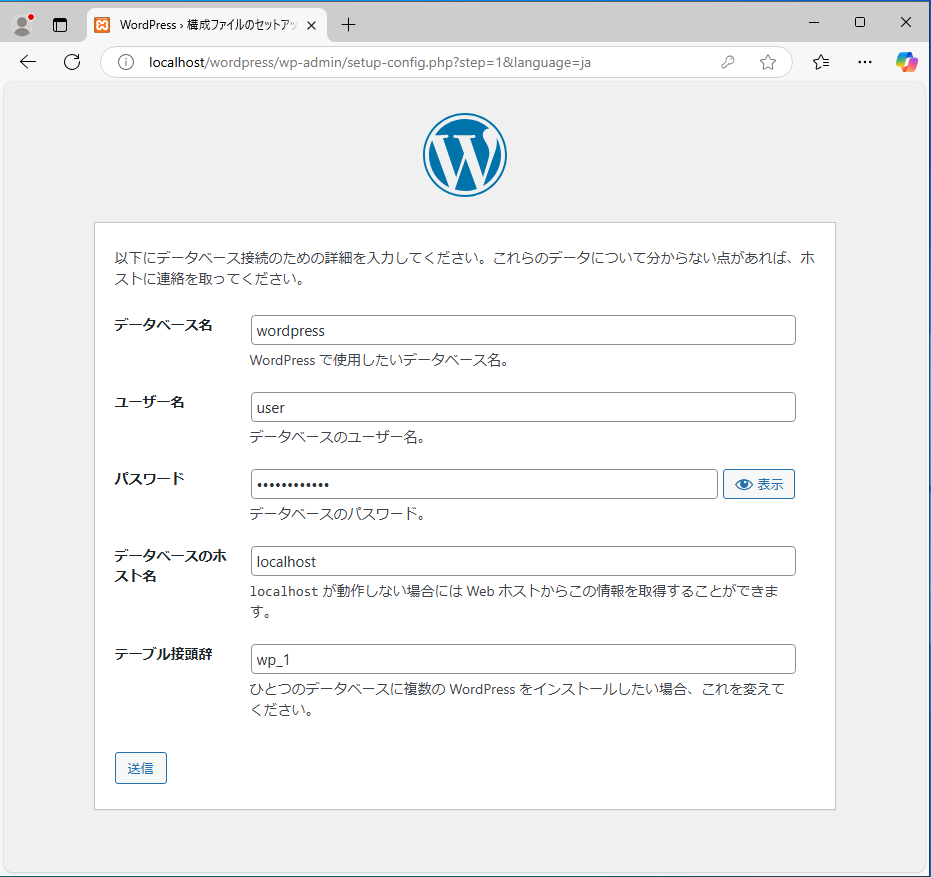
http://localhost/wordpress以下の画面が表示されれば成功です。

「さあ、始めましょう!」ボタンを押下します。
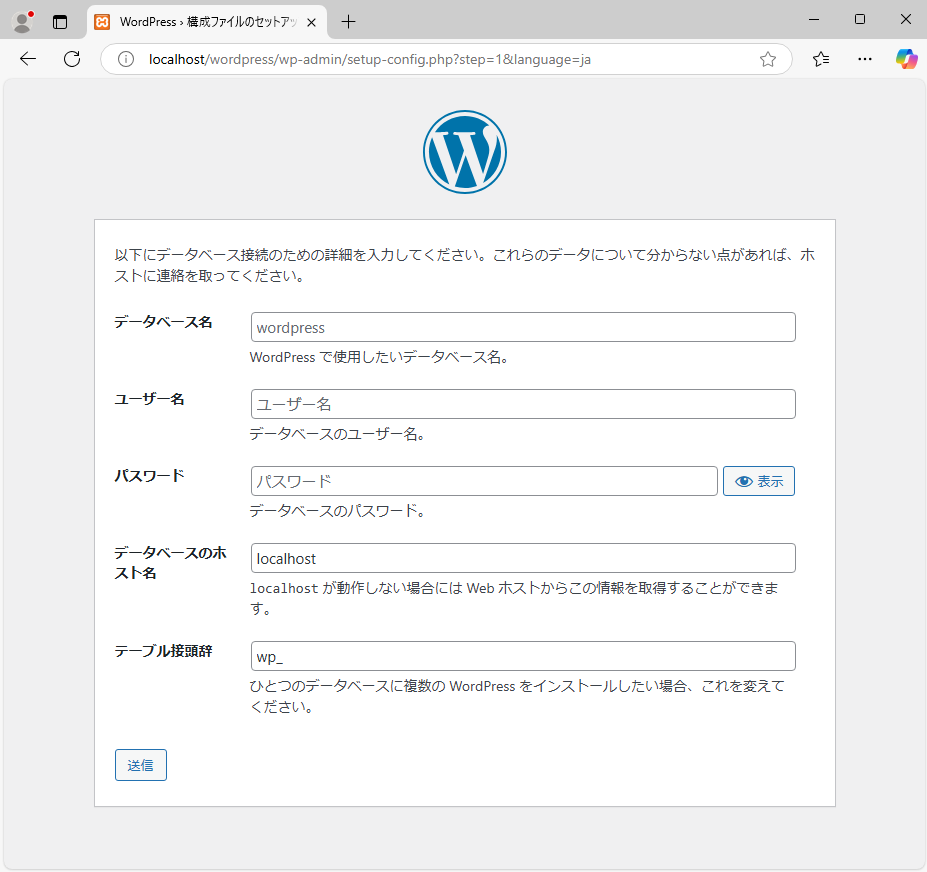
データベース名、ユーザー名、パスワード、データベースのホスト名、テーブルの接頭辞すべて入力して「送信」ボタンを押下します。
このままだとエラーが出たので対応します。